- Home
- Birthday Cards
- Cute As a Button Cards
Cute As A Button Cards
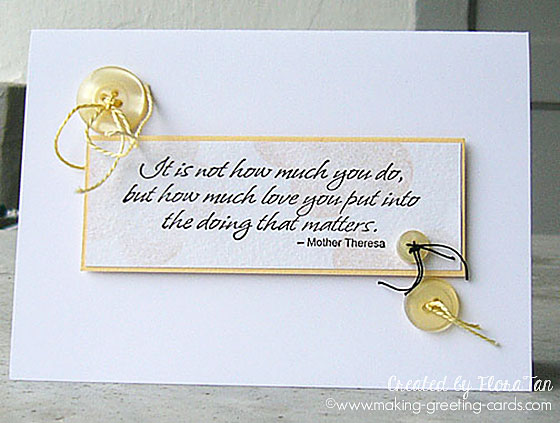
Here is one of the Cute As A Button Cards that I have created. They are thus named because I embellished them with at least one or more buttons.
Using Buttons As Embellishments
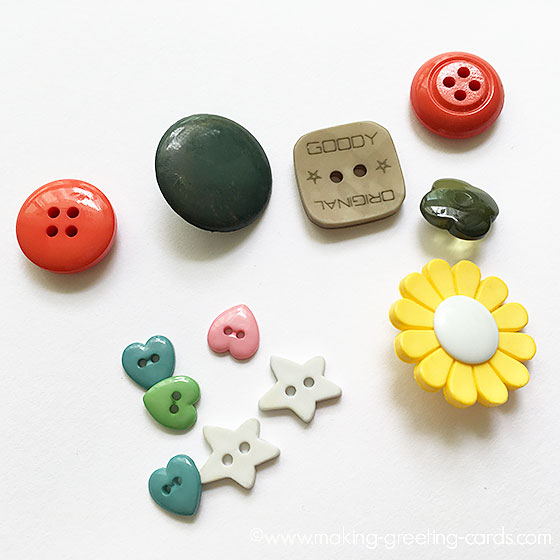
Buttons can be found at home in your sewing box and are easily available for purchase at the store. Now with the trendy use of cute decorative buttons in card making as well as scrapbooking, craft shops also carry these sweet little buttons in bright and candy colours in all shapes and theme.
Nowadays, we see buttons glued onto paper and card-stocks, on tin can as a decorative decor as well as cushions not as a fastener but as a design statement. I am sure there are lots of other uses creative people have used these practical sewing supply for their creative works and endeavours.
So, let us go search in our sewing box or sewing machine drawers and find some buttons to use on our handmade greeting cards for a change.
What I did below is just to print a meaningful quote and sewn buttons to kind of frame the quote. Buttons used are practical and non decorative kind which are readily found in my home.
Cute as a Button Cards
Card Making Supplies Needed:
- 3 buttons of different sizes
- Cross-stitching threads
- Rubber stamp - quote by Mother Theresa (Kodomo Inc)
- Rubber stamp - solid posy (Hero Arts)
- White blank card
- Yellow ochre color cardstock (small piece)
- White color paper - 118 gsm (small piece)
- Dye ink pad - Soft Vanilla
- Instant dry pigment ink - Onyx Black
- Paper trimmer or pen knife
- Glue
- Circle punches
Note: If you don't have the quote rubber stamp, just use one of the quotes on the Friendship Quote page. You can print quotes for your cards using funky or decorative fonts from Dafont.
Card Making Instructions:
- Ink solid posy rubber stamp with soft vanilla color ink and stamp on white paper.
- Ink quote rubber stamp with onyx black color ink and stamp on white paper.
- Layer over yellow ochre color card stock.
- Trim and mount on white blank card with foam tape.
- Punch 3 circles; smaller than the size of each button.
- Sew buttons onto the punch circles.
- Tie knots and mount onto the card with strong glue.
Making Greeting Cards › Friendship Cards › Here
Making Greeting Cards › Card Ideas › Here
Like This Site?
|
| |
Celebrating Creativity! Connecting Lives!
~ bringing cheer one card at a time.
Help Me Get The Word Out

If you like making greeting cards and want to encourage others to do so because of its many benefits, please help me share this website with your friends. Just click on the share buttons below to share with your fans and friends. Thank you for sharing the good things in life :-)
Top of Button Card



New! Comments
Have your say about what you just read! Leave me a comment in the box below.