- Home
- Birthday Cards
- Make Greeting Card
How to a Make Greeting Card with a Simple 3D Effect
- 3 Easy Methods
To make a greeting card that spots a 3d effect is actually quite simple. With a little know-how and some planning, you can easily execute an interesting 3D greeting card.
Here are 3 methods to create a 3d greeting card. These are easy to follow and will help you make some beautiful greeting cards to surprise your friends.
Click on any image
for gallery or expanded view.
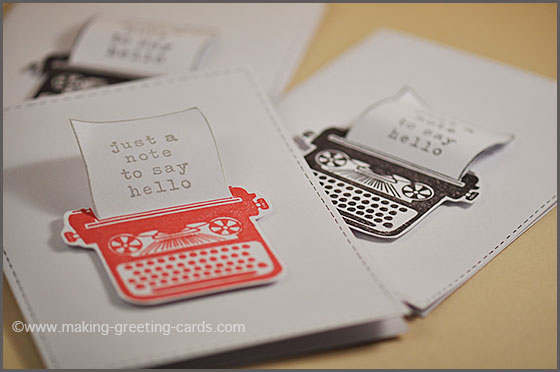
For this project, I'm using just one rubber stamp image and a small message stamp to illustrate the 3 simple methods. You can use clip arts or other rubber stamps to make greeting card that looks like the above.
Make A Greeting Card With Simple 3D Effect
Supplies Used:
- 3 blank white folded cards
- White card stock
- Clings stamps by Hero Arts - My Type
- Memento Ink pads: Tuxedo Black, Lady Bug
- VersaFine ink pad: Smokey Gray
- Acrylic blocks
- Scissors
- Fine black iarker
- Ruler
Method 1
Below is the explanation for the easy method used to make simple 3d effect.
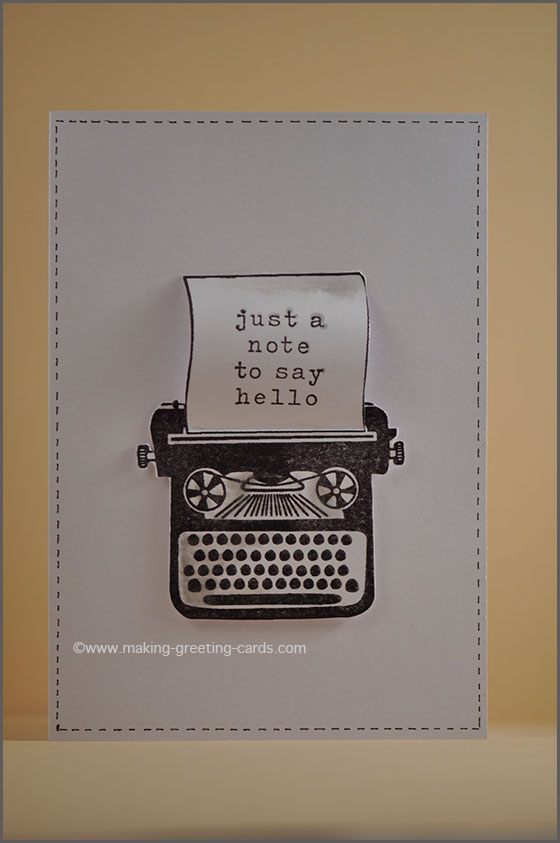
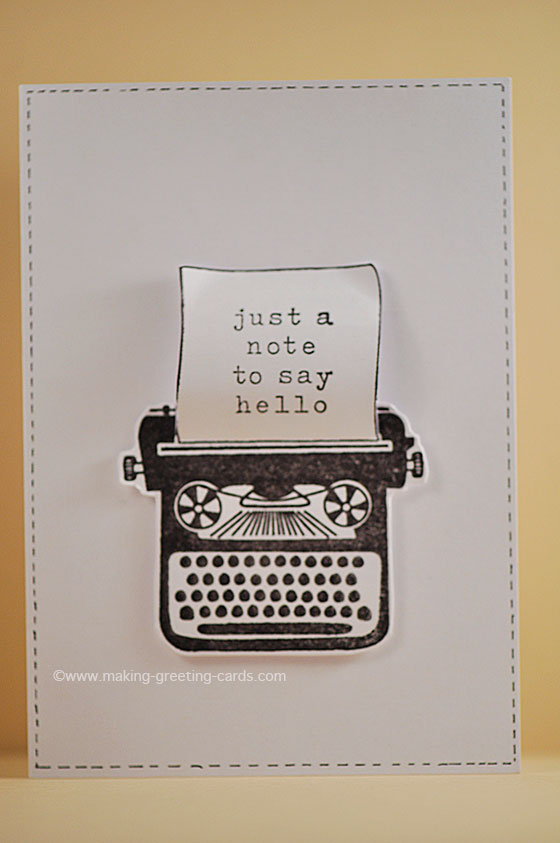
- The above handmade card was made by stamping the typewriter image with black ink on white card stock twice.
- Stamp the message 'just a note to say hello' on the centre of the paper.
- Cut closely around the outline of the typewriter image and across the top of the typewriter omitting the paper.
- Slit a cut on the typewriter image where the bottom of the note is.
- Cut out the note on the other stamped image. Make sure you cut beyond the bottom of the note to include about a quarter inch of the typewriter.
- Insert the note into the slit and glue it to the underside of the typewriter image.
- Use double-sided foam tape on the underside of the typewriter and attach to the white folded card.
- Slightly bend the note and glue the top edge to the card.
- Use a ruler and black marker to add running stitches around the card to make a simple frame.
Method 2
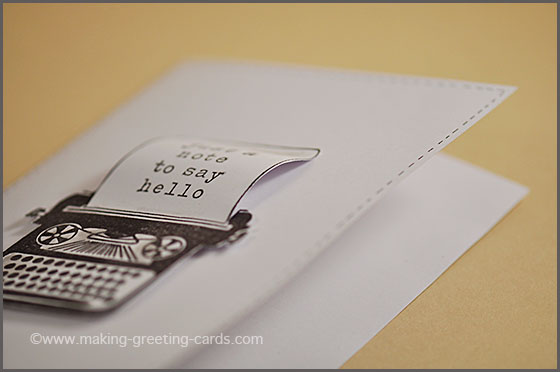
- Looking at the image above, you would think that it's no different from the first card. Actually, for this, it simpler.
- I used only one stamped image of the typewriter. Stamp the message onto the centre of the paper image.
- Cut around outline of typewriter leaving a narrow border.
- Once your scissors reach the note area, trim closely to the outline of the paper image.
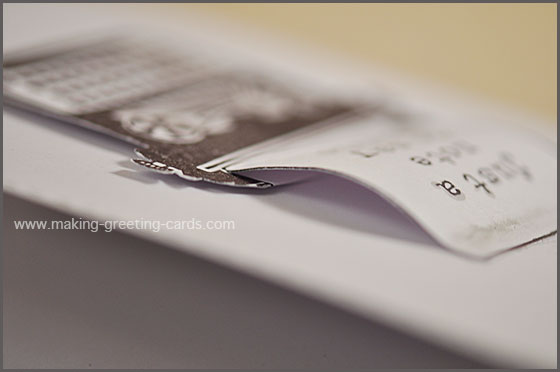
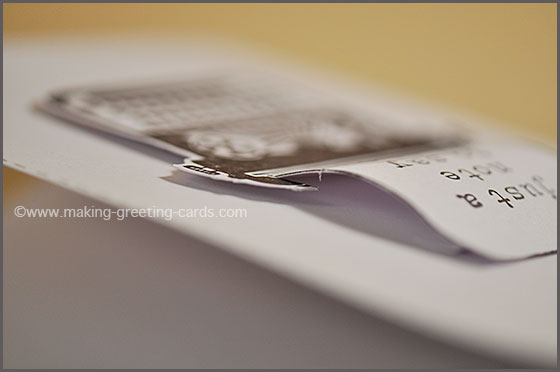
- Cut two slits following the outline of the paper image until you reach the place where the bottom of the paper comes out of the typewriter.
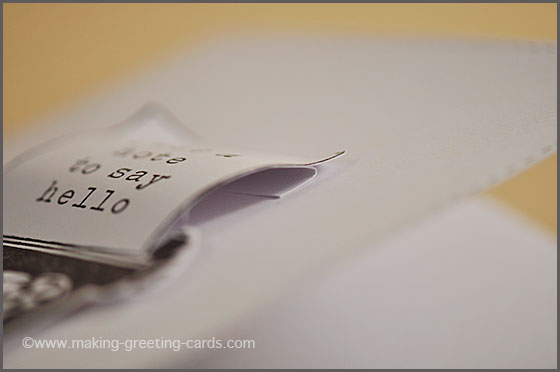
- Score the bottom of the paper image and fold towards yourself.
- Slightly bend the note and also the two top corners of the typed note to give a dog-ear effect.
- Apply double-sided foam tape behind typewriter and attach to front of folded card.
- Cut out a small strip of white card, fold and use that to glue the top of note to the card below.
- Use fine black marker and ruler to add faux running stitches around front of card.
Method 3
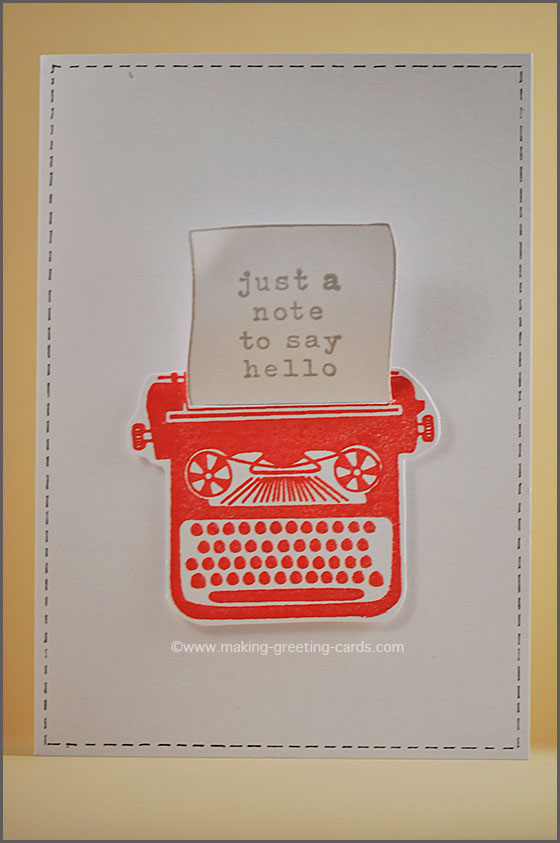
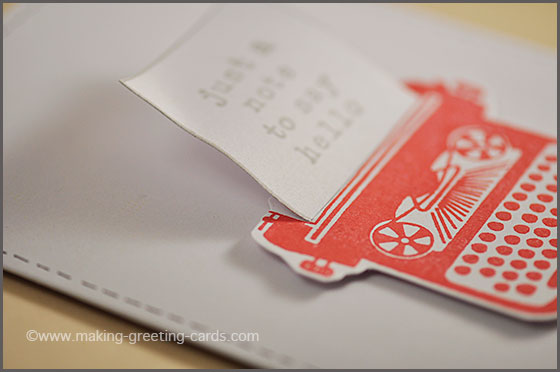
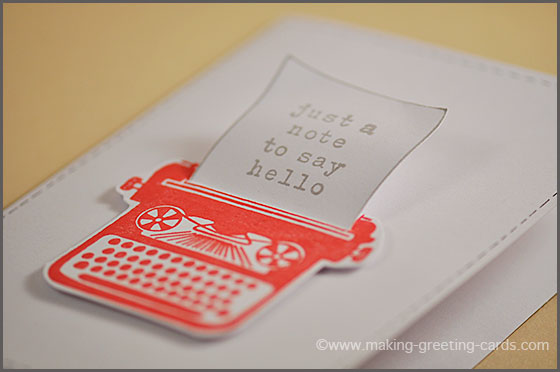
Okay, I'm bored with the black and white greeting card so I decided to take out my Lady Bug red ink pad and stamp the typewriter image once. But before doing that, I stamped in smokey gray ink on white card stock. Cleaned the stamp and switch to red ink. :-)
Stamp the message with Smokey Gray ink in the centre of the paper image.
For this method, it's just like the 1st method but instead of gluing the note to the front of the card, I left it hanging there freely after slightly bending it. Since I used 220gsm weight card stock, the paper is able to hold it's form nicely.
So that's it! Easy, right? You could use these methods with other clip arts or stamped images. Have fun!
Making Greeting Cards! › Fun Cards › Simple 3D Cards
Share Your Thoughts
Like This Site?
|
| |
Celebrating Creativity! Connecting Lives!
~ bringing cheer one card at a time.
Help Me Get The Word Out

If you like making greeting cards and want to encourage others to do so because of its many benefits, please help me share this website with your friends. Just click on the share buttons below to share with your fans and friends. Thank you for sharing the good things in life :-)

New! Comments
Have your say about what you just read! Leave me a comment in the box below.