- Home
- Birthday Cards
- Thank You
Say Thank You With A Handmade Card
Saying Thank You to friends, to colleagues or even to family members might not come easily. But it is important to show appreciation for some kindness shown or a gift given and received with much thanks. There are lots of opportunities to say it but sometime words aren't enough. So maybe a simple handmade card could be the answer and because it is homemade it tells the recipient that you truly appreciate him or her.
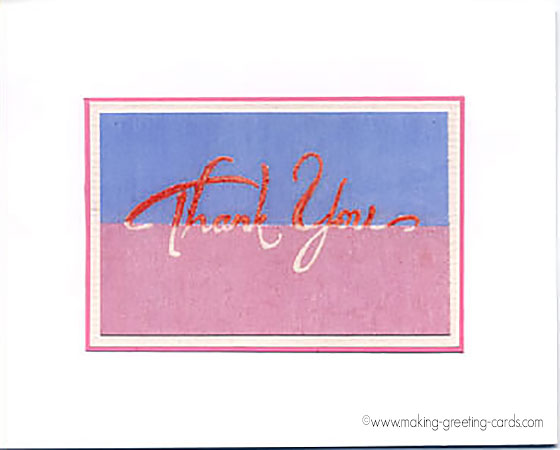
Make a couple of these so that you always have one in hand to send out in appreciation of a gift, a kind deed or just for being there for you.
You don't have to have a elaborate design especially if you are going to make quite a lot of them. I usually just hand-stamped them and coloured in whenever I'm free.
But the above card is one I spent a bit more time on.
Card Making Supplies :
3M Positional Stickers are also known by other names like Sticky Pads or Notes, and Post-it Notes. For this, you will need one that is big and long enough to cover the area. There are other brands so you do not need to use 3M's. Any thing that can do the work will do. Or even a piece of paper taped down on both sides so it stays in position and does not move about.
- White Card-stock
- Pink Card-stock
- White Blank Card
- Rubber Stamp "Elegant ThankYou" by All Night Media
- Versamark Ink-pad
- Red Color Pigment Ink-pad
- Embossing Powder : Clear
- Blue Dye Ink-pad
- Pink Dye Ink-pad
- Scissors
- Glue
- 3M Positional Sticker/Sticky Pad/Post-it Notes
- Heat Gun
Card Making Instructions :
- Ink the rubber stamp with the Versamark ink-pad.
- Ink only the top half of rubber stamp with the red pigment ink-pad.
- Stamp on the white card-stock.
- Pour the clear embossing powder on the stamped image.
- Lightly tap excess powder onto a clean sheet of paper.
- Heat with the heat gun making sure that you do not overheat.
- Cover top half of card-stock with 3M positional paper.
- Sponge with blue dye ink.
- Now replace the 3M Positional paper onto the bottom half and sponge with pink ink.
- Cut and layer on pink card stock.
- Finally, layer onto the white blank card.
That's it! A simple handmade card to say "Thanks!". Always have a stack of these or other card designs at hand and ready to be given out or posted when the need arises.
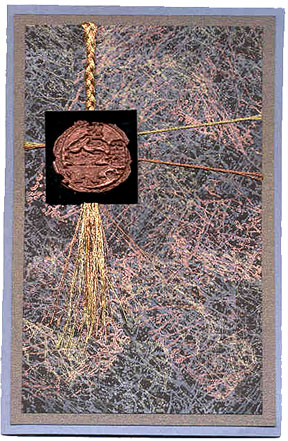
Here are some I created using big background rubber stamps and my own simple calligraphy.
Have a look here.
Making Greeting Cards! › Thank You Cards › A Simple "Thank You" Card
Like This Site?
|
| |
Celebrating Creativity! Connecting Lives!
~ bringing cheer one card at a time.
Help Me Get The Word Out

If you like making greeting cards and want to encourage others to do so because of its many benefits, please help me share this website with your friends. Just click on the share buttons below to share with your fans and friends. Thank you for sharing the good things in life :-)



New! Comments
Have your say about what you just read! Leave me a comment in the box below.